


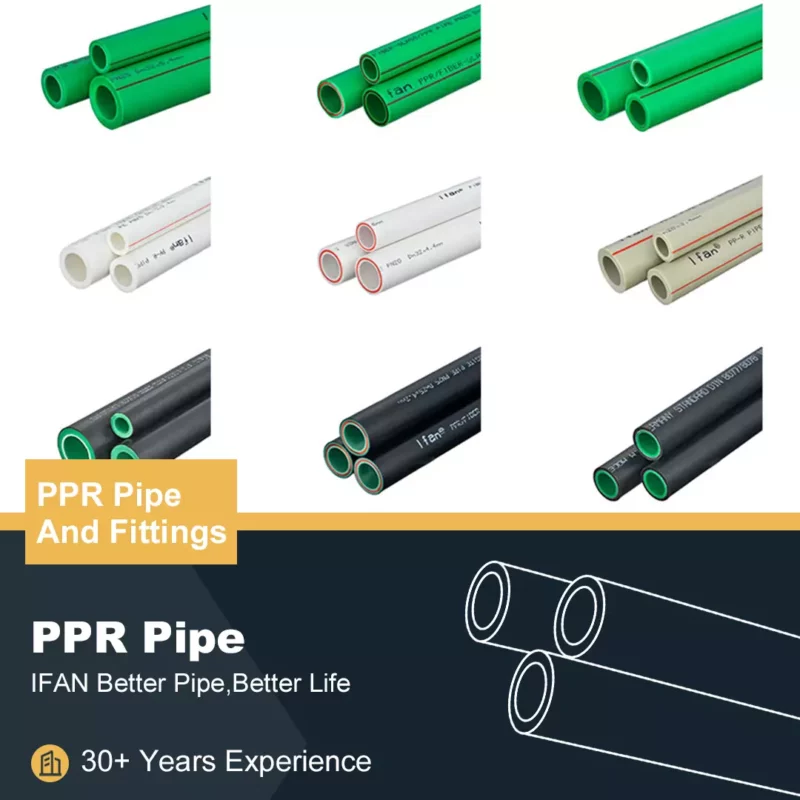
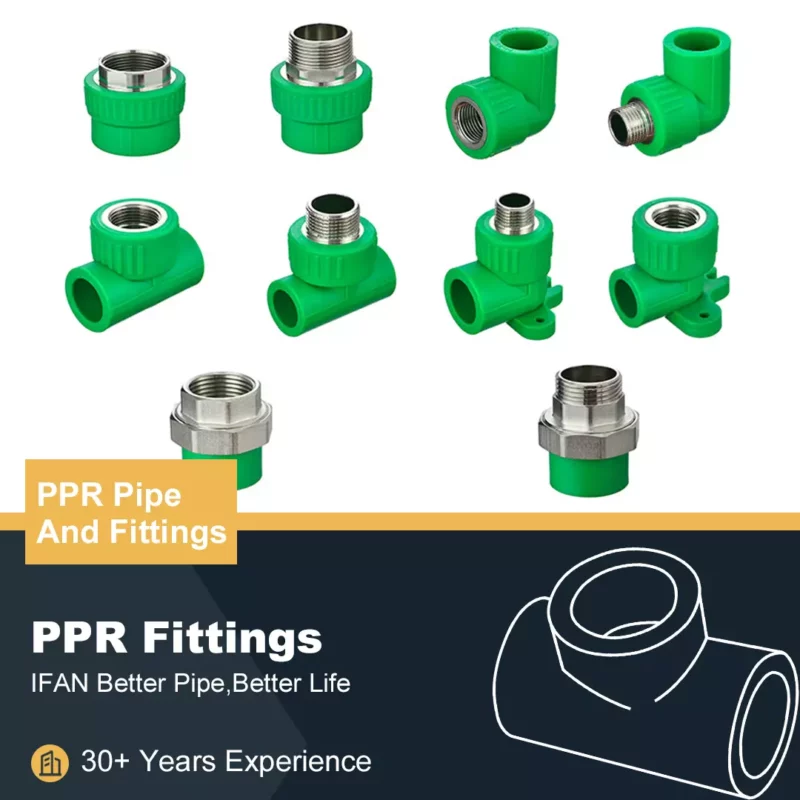

Installing PPR pipe fittings onto PPR pipes is a straightforward process that ensures a reliable and leak-free plumbing system. This article guides you through the detailed steps, highlighting the simplicity and effectiveness of the installation procedure.
Preparing for Installation

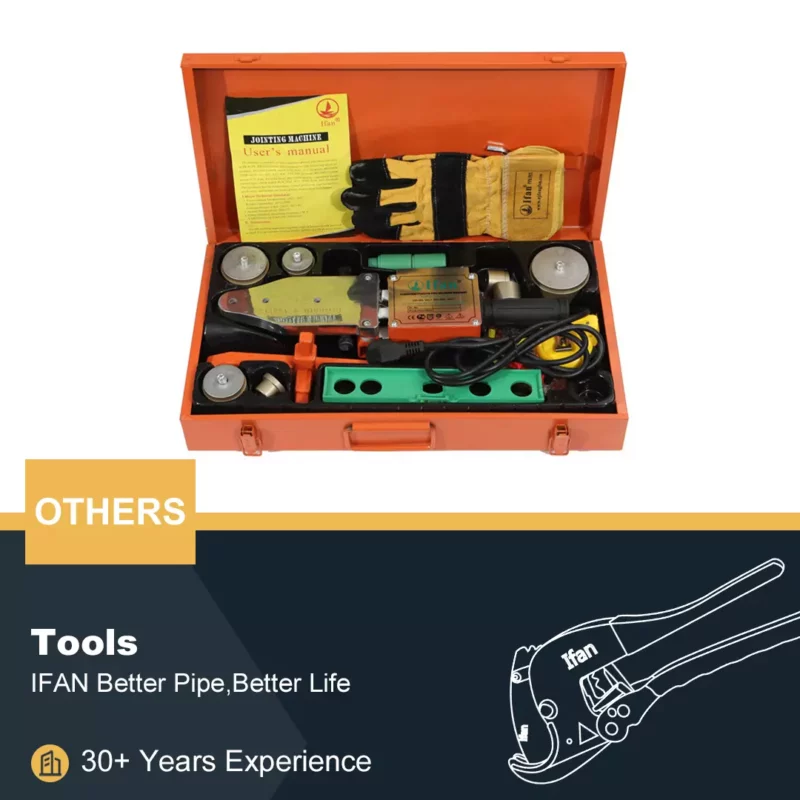
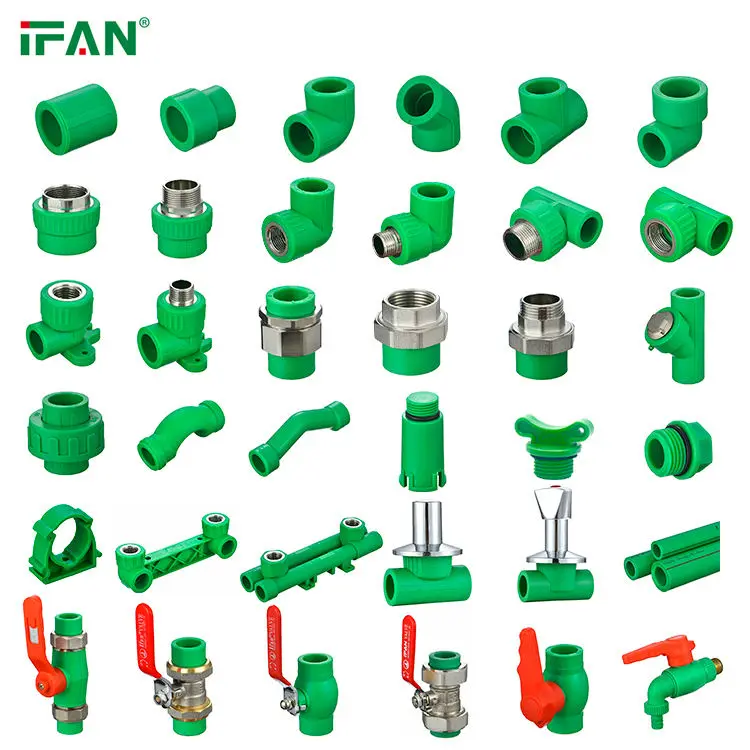
Ensure a smooth installation process by gathering the necessary tools and materials. This includes PPR pipes, PPR pipe fittings, a pipe cutter, deburring tool, and a PPR welding machine.
Cutting and Preparing the PPR Pipe:
1.Measure and mark the desired length of the PPR pipe.
2.Use a pipe cutter to make a clean and straight cut at the marked point.
3.Remove any burrs or rough edges with a deburring tool.
Welding PPR Pipe Joints
Welding PPR pipe joints is a crucial step that demands precision and attention to detail.
Heating the PPR Pipe:
1.Power on the PPR welding machine.
2.Insert the PPR pipe into the heating element, ensuring uniform heating along the joint area.
Applying PPR Pipe Fittings:
1.Remove the heated PPR pipe from the welding machine promptly.
2.Insert the PPR pipe fitting into the heated end, ensuring a swift and snug fit.
Crimping and Cooling Process
Completing the crimping and cooling process is vital for a secure and lasting connection.
Crimping the PPR Pipe:
1.Utilize a PPR crimping tool to secure the PPR pipe fitting in place.
2.Apply firm and even pressure to create a tight and leak-resistant connection.
Allowing for Cooling:
1.Allow the crimped joint to cool for the recommended duration.
2.Ensure the PPR pipe and fitting are stable and free from any movement during the cooling process.
Final Checks and Testing
Conclude the installation with a thorough check and pressure testing to guarantee a successful outcome.
Visual Inspection:
1.Inspect the welded joint visually for any irregularities or visible defects.
2.Confirm that the PPR pipe fitting is securely and evenly crimped onto the PPR pipe.
Pressure Testing:
1.Conduct a pressure test by introducing water into the system.
2.Monitor for any signs of leaks or weak points, addressing issues promptly.
Conclusion:
Installing PPR pipe fittings onto PPR pipes is a straightforward yet meticulous process. By following these detailed steps, you can ensure a secure, durable, and efficient plumbing system. Mastering the art of PPR pipe installation empowers both professionals and DIY enthusiasts to contribute to reliable and long-lasting plumbing solutions.
If you have read this article and have any questions, please feel free to contact IFAN. Below is our contact information:
Whatsapp:+86 13373827623
Email:[email protected]


Thanks for sharing. I read many of your blog posts, cool, your blog is very good.
I don’t think the title of your article matches the content lol. Just kidding, mainly because I had some doubts after reading the article.