


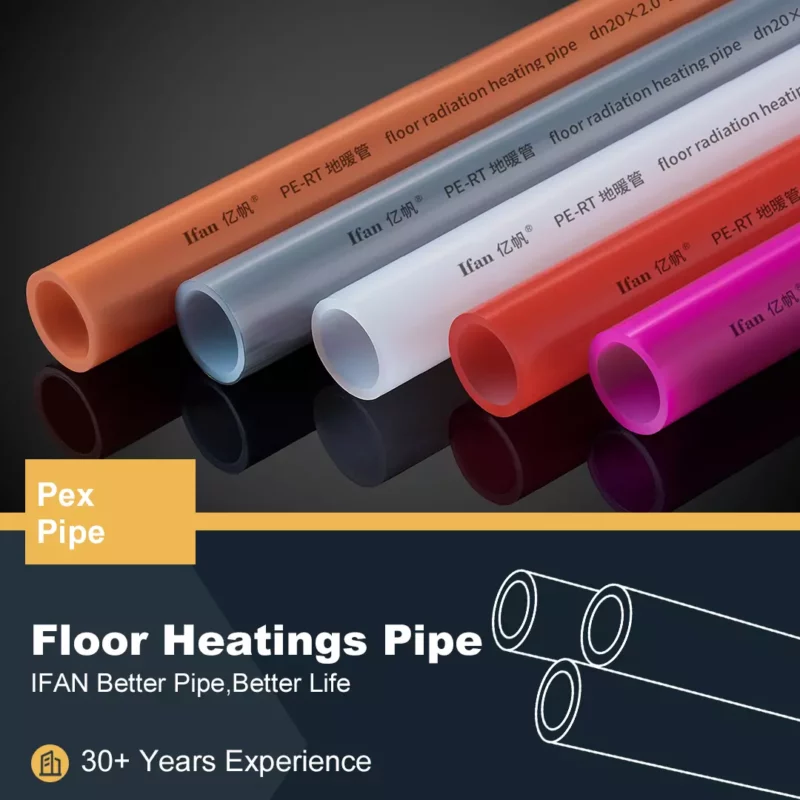


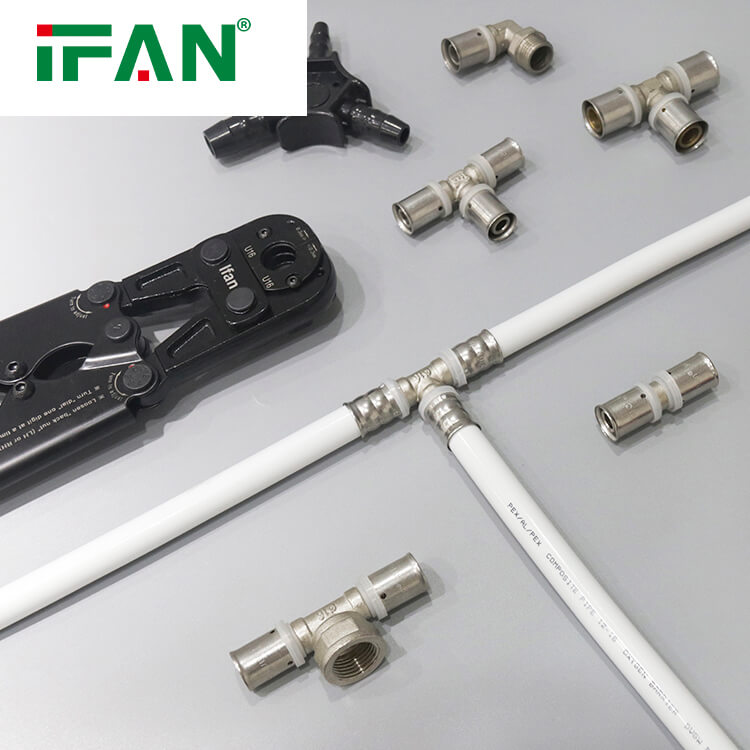
PEX crimp connectors are widely used in plumbing systems for their durability and ease of installation. However, over time, these connectors may require repair or replacement due to wear and tear, damage, or changes in the plumbing layout. In this SEO article, we will provide a comprehensive guide on how to repair and replace PEX crimp connectors, ensuring the longevity and reliability of your plumbing system.
PEX Assessing the Need for Repair or Replacement:
Before proceeding with any repairs or replacements, it is crucial to assess the condition of the PEX crimp connector. Look for signs of leaks, corrosion, or visible damage. Additionally, consider whether repairing the connector is feasible or if complete replacement would be more appropriate. Proper assessment helps determine the most effective course of action.
Repairing Minor Leaks:
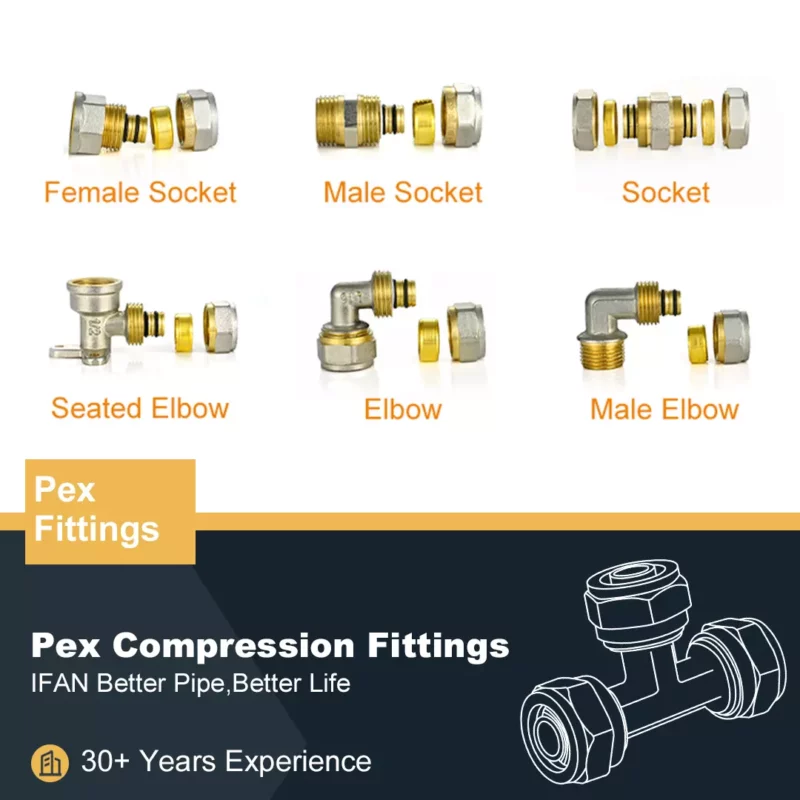
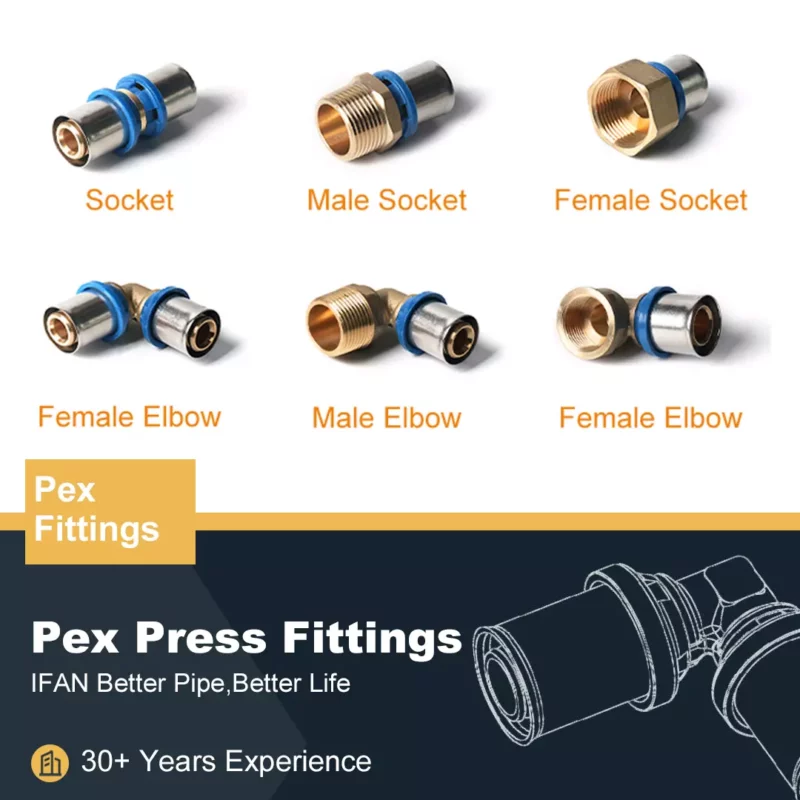
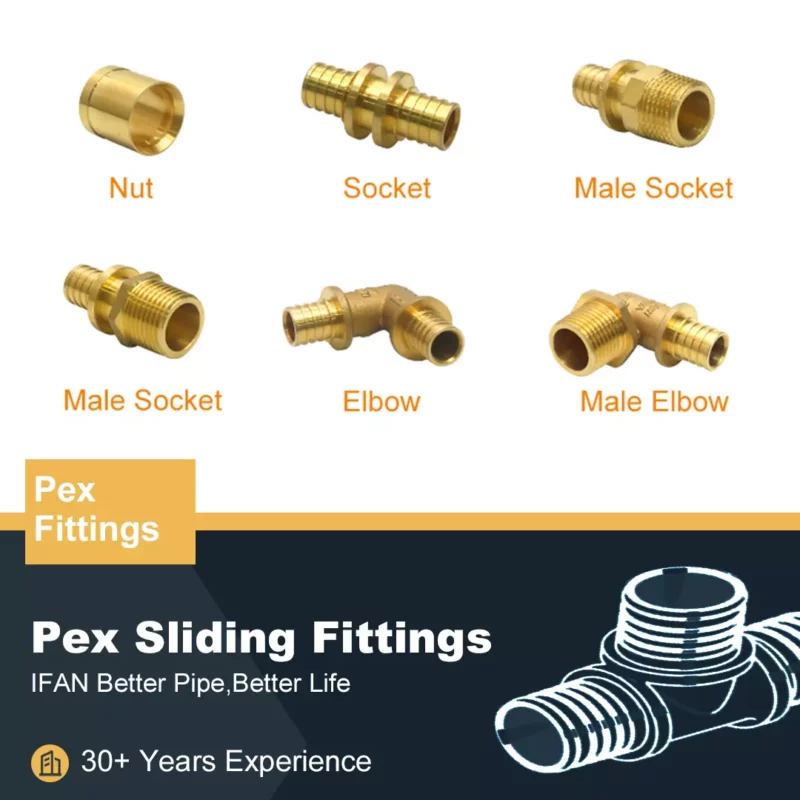
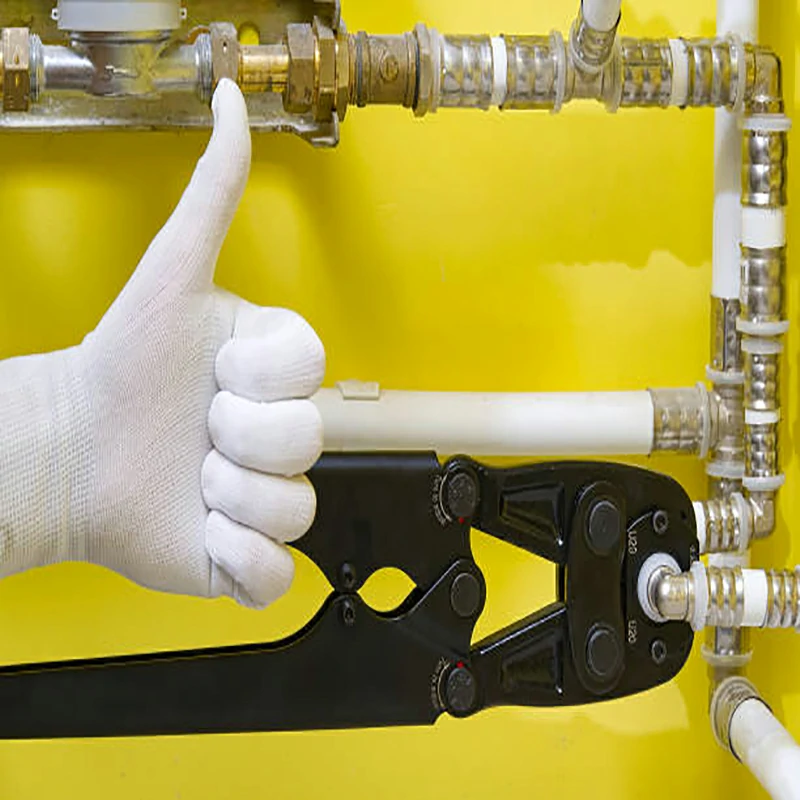
If you have identified a minor leak in a PEX crimp connector, it may be possible to repair it without completely replacing the connector. Start by shutting off the water supply and draining the affected section of the plumbing system. Use a pipe cutter to remove the damaged portion of the PEX pipe, ensuring clean and square cuts. Install a new crimp ring and reconnect the PEX pipe using a calibrated crimping tool, following manufacturer guidelines for proper crimping techniques. Finally, conduct a pressure test to check for any additional leaks.
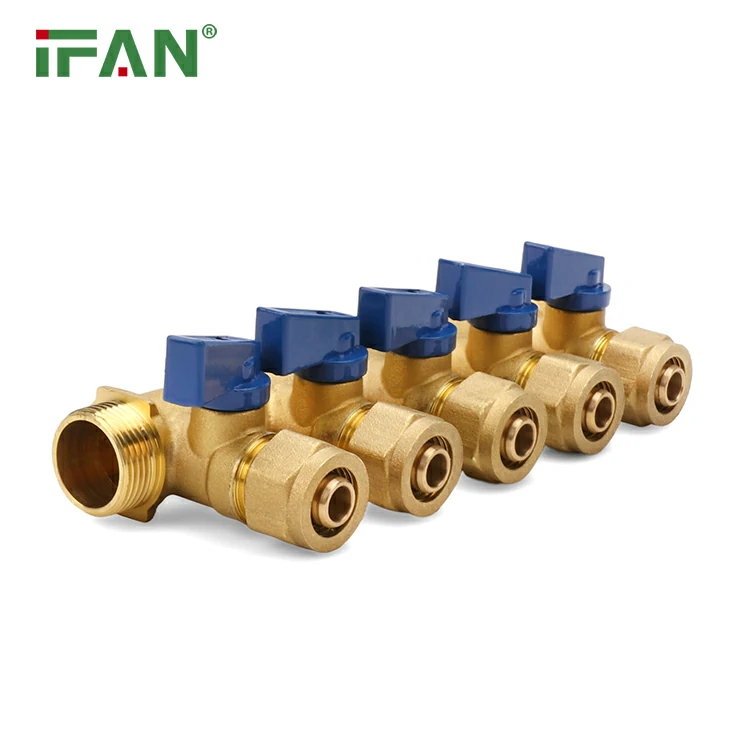
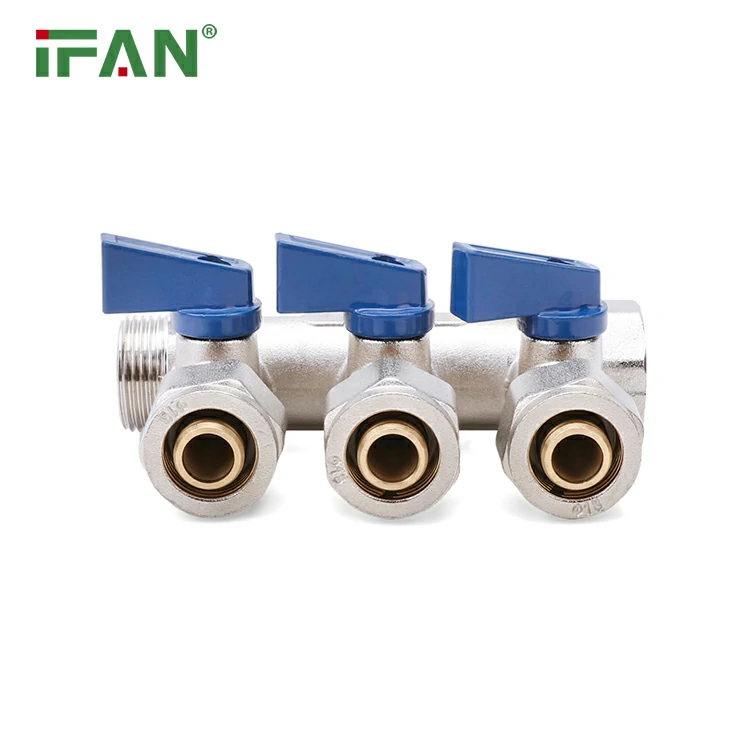
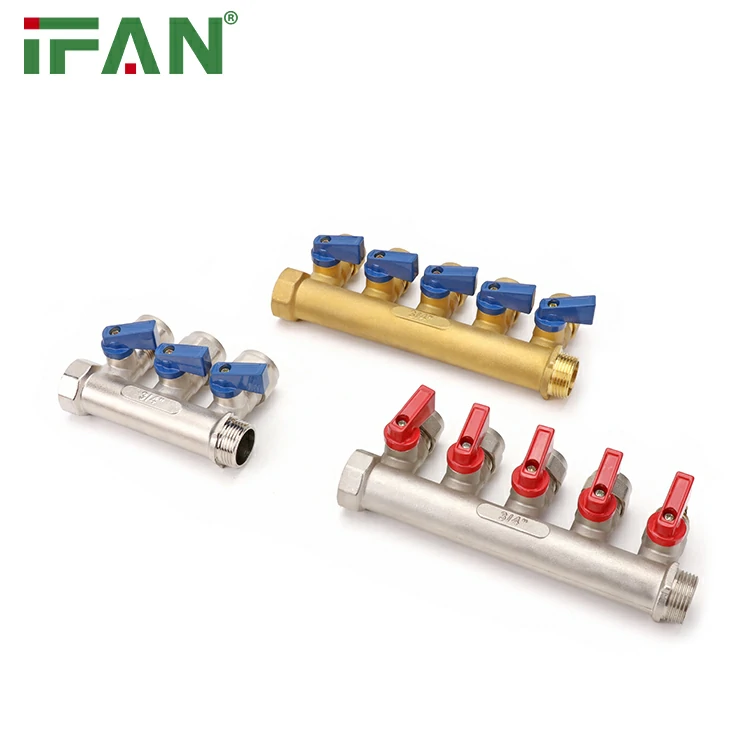
PEX Replacing Damaged Connectors:
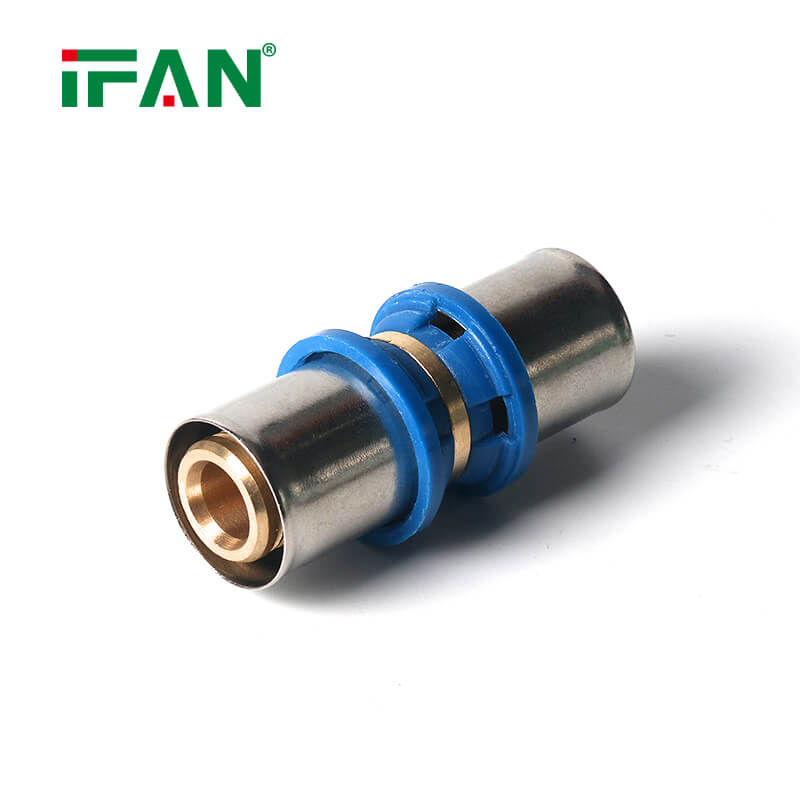
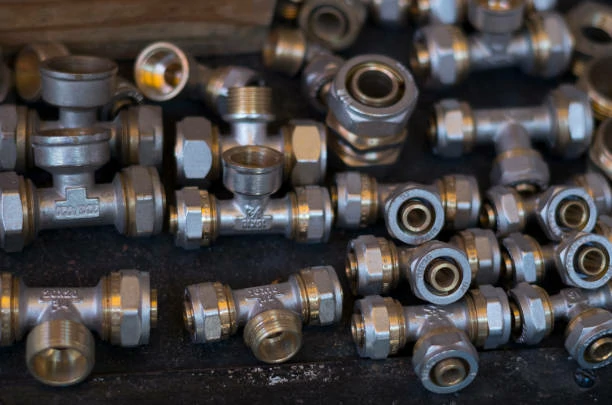
In cases where the PEX crimp connector is severely damaged or corroded, replacement is often the best solution. Begin by shutting off the water supply and draining the plumbing system. Cut the PEX pipe on both sides of the damaged connector, ensuring clean cuts. Remove the old crimp rings and discard the damaged connector. Install a new PEX crimp connector, making sure it is compatible with the pipe size and type. Use a calibrated crimping tool to secure the new connector, following manufacturer guidelines for proper crimping techniques. Perform a pressure test to ensure a leak-free connection.
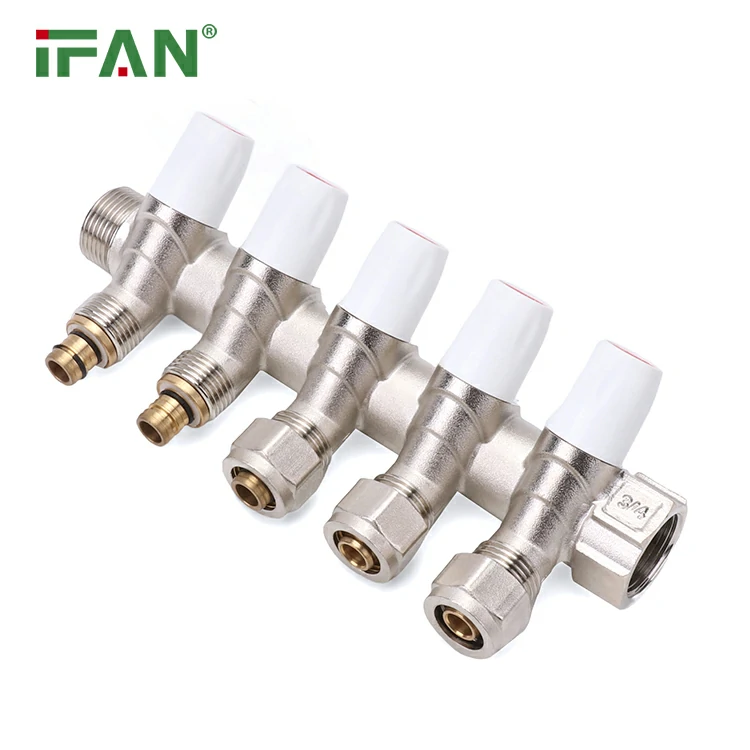
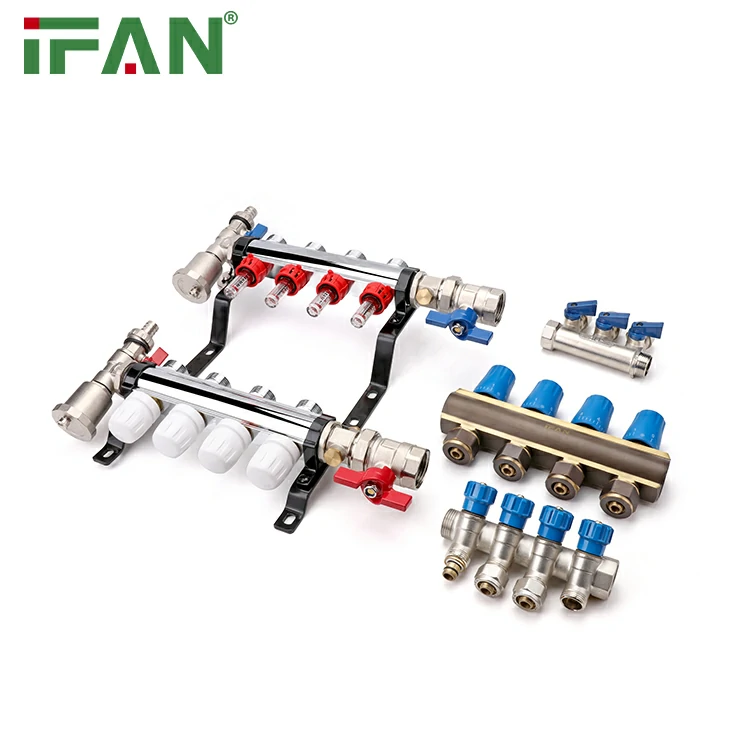
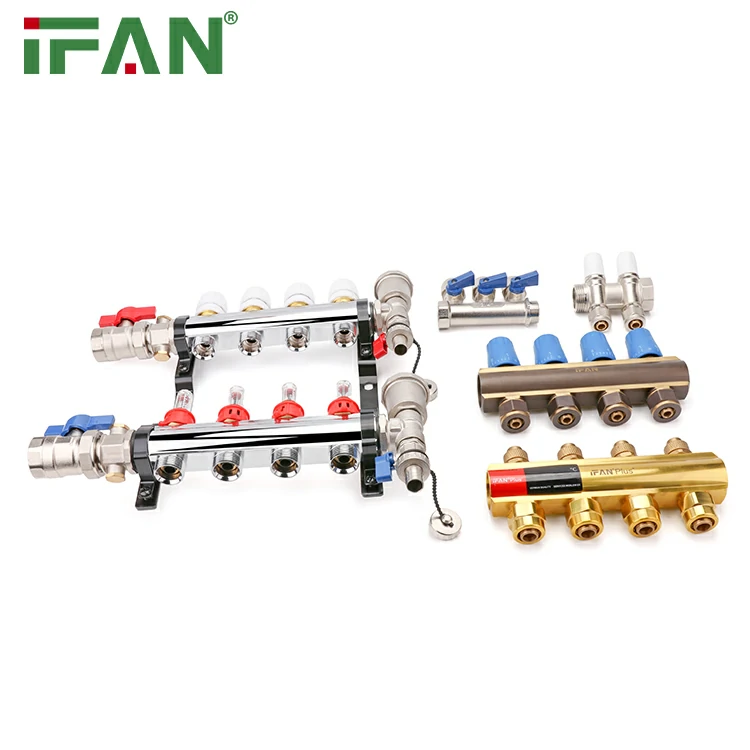
Modifying Plumbing Layout:
At times, plumbing systems require modifications due to renovations, additions, or changes in layout. When modifying PEX crimp connections, it is essential to plan the new layout carefully. Determine the new pipe lengths and fittings required for the desired configuration. Cut the existing PEX pipes cleanly and square. Install new crimp rings and connectors as per the revised layout, ensuring proper alignment and fit. Conduct a pressure test to verify the integrity of the modified connections.
PEX Seeking Professional Assistance:
While minor repairs and replacements can be accomplished by homeowners or plumbing professionals, complex plumbing issues or large-scale projects may require the expertise of a licensed plumber. If you are unsure about the repair or replacement process, or if the scope of work exceeds your capabilities, it is recommended to seek professional assistance. Trained plumbers have the knowledge and experience to handle intricate repairs and ensure compliance with plumbing codes and standards.
Conclusion:
Repairing and replacing PEX crimp connectors is a necessary task to maintain the efficiency and reliability of plumbing systems. By properly assessing the need for repair or replacement, addressing minor leaks with precision, replacing damaged connectors when necessary, planning and executing modifications carefully, and seeking professional assistance when required, you can ensure a long-lasting and leak-free plumbing system. Regular maintenance and prompt attention to repairs will help extend the lifespan of PEX crimp connectors, providing peace of mind for homeowners, manufacturers, and distributors alike.
If you have read this article and have any questions, please feel free to contact IFAN. Below is our contact information:
Whatsapp:+86 13373827623
Email:[email protected]


Hi there! Do you know if they make any plugins to help with SEO?
I’m trying to get my site to rank for some targeted keywords but I’m
not seeing very good results. If you know of any please share.
Thanks! I saw similar art here: Eco bij