


Installing PEX pipe and fittings is a cost-effective and durable solution for plumbing systems. This guide will provide step-by-step instructions on how to install PEX pipe and fittings in your home.
1: Tools and Materials
To begin the installation process, gather the necessary tools and materials:
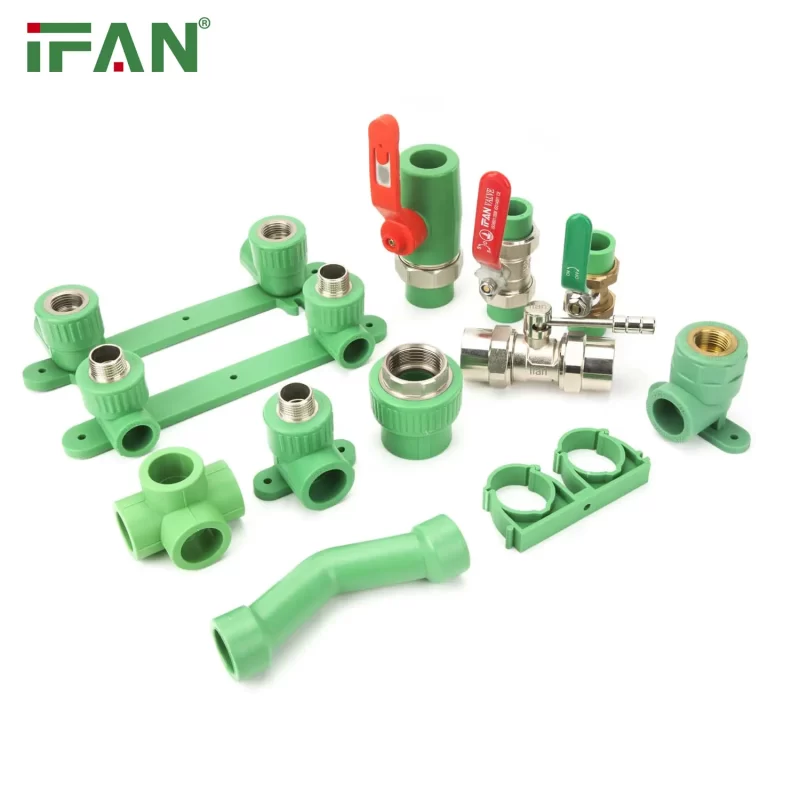
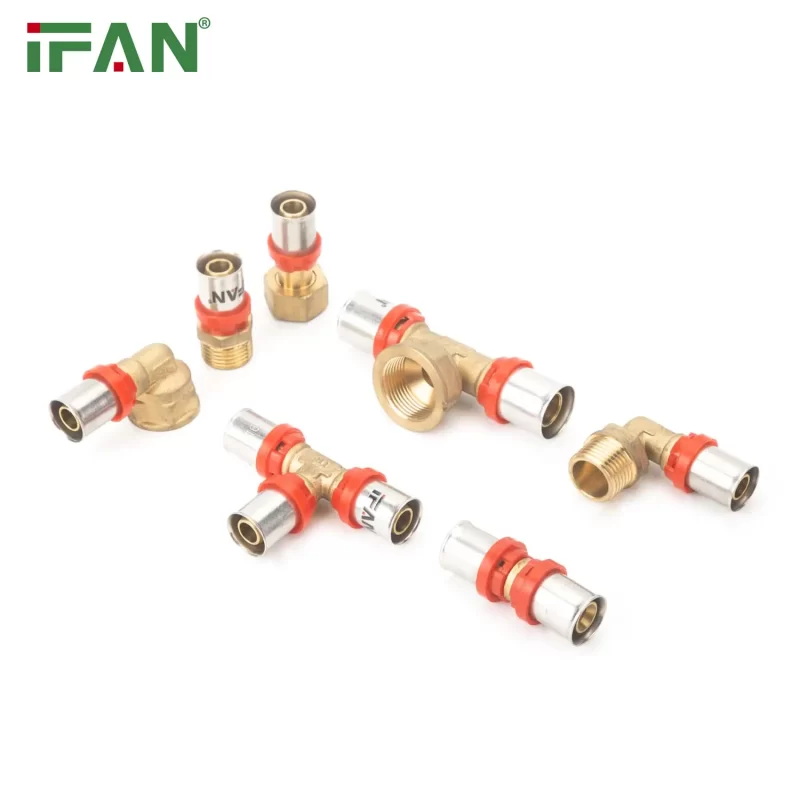
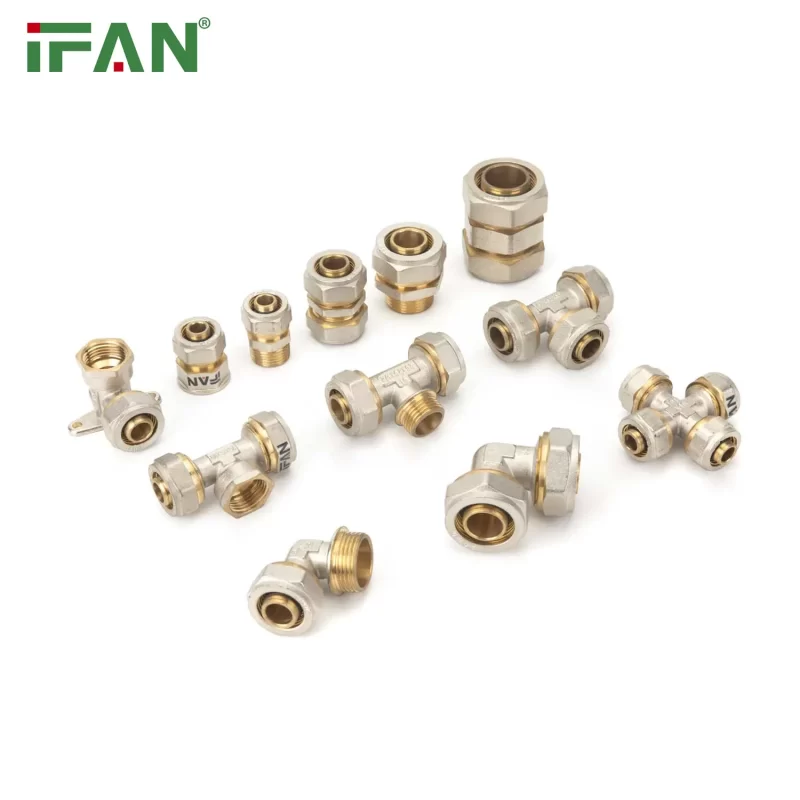
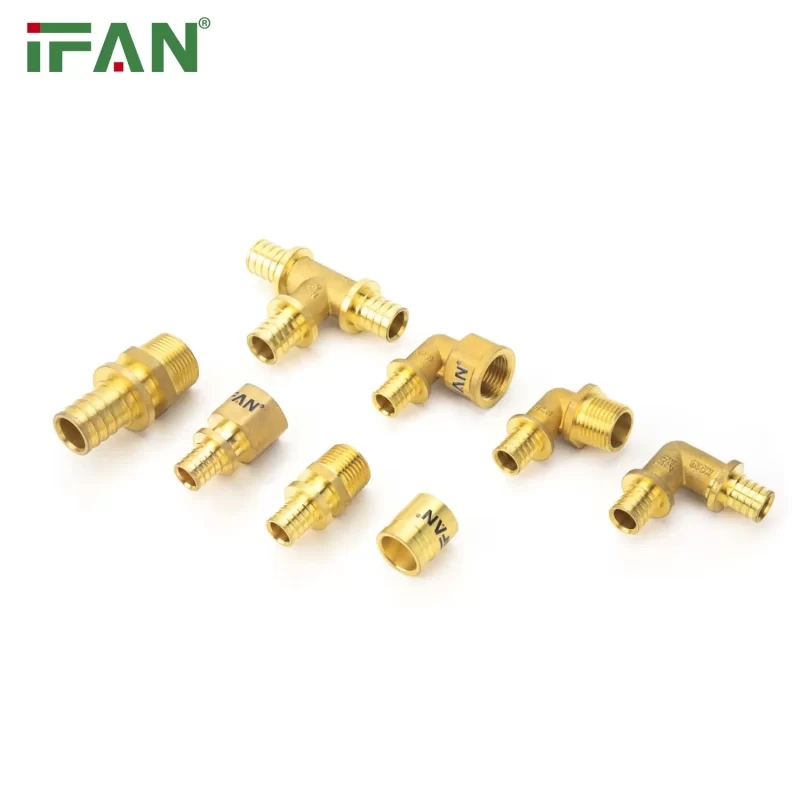
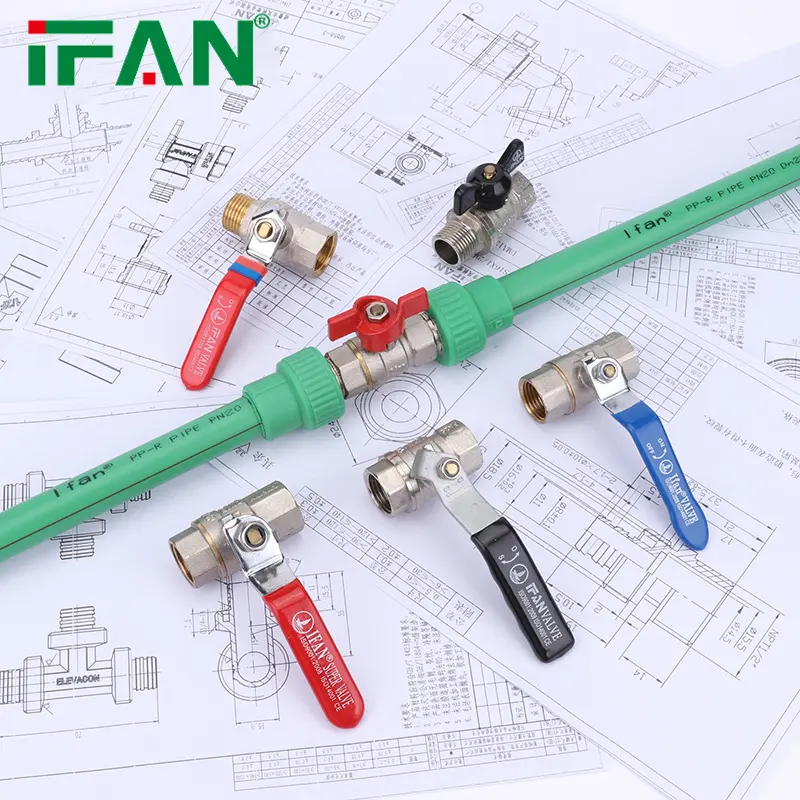
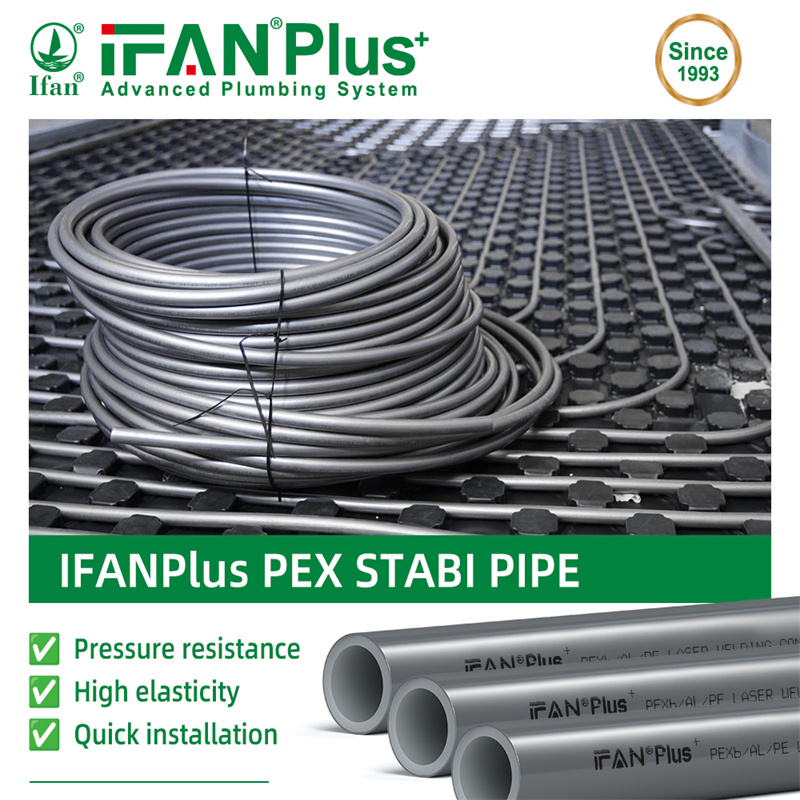
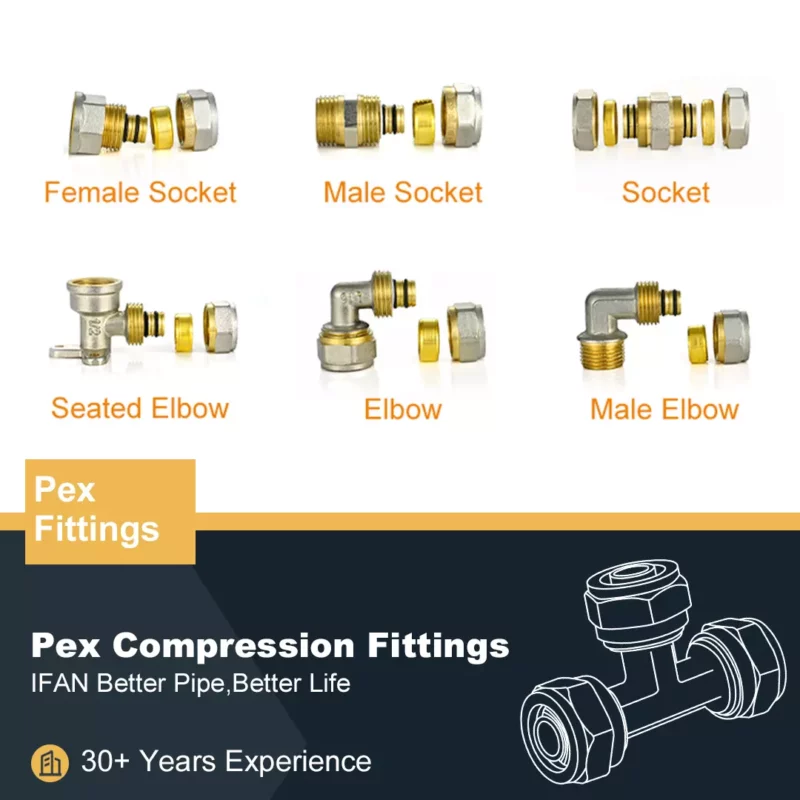
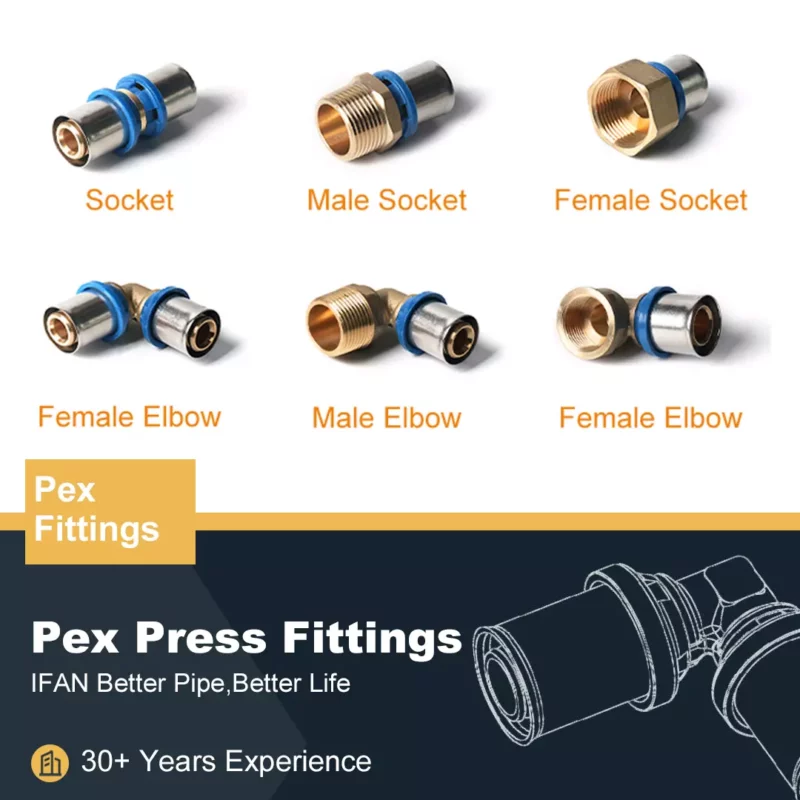
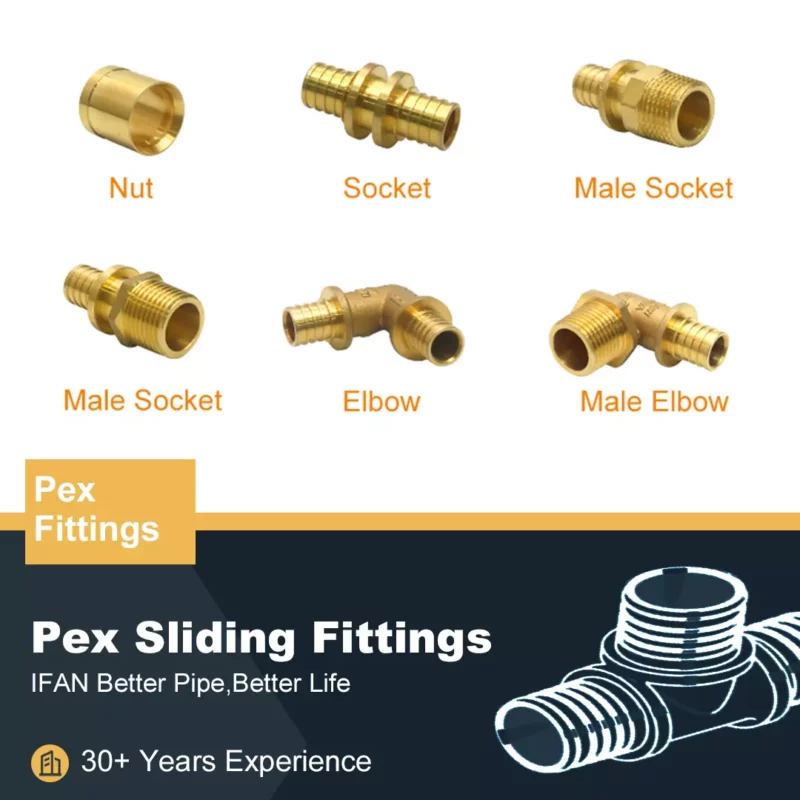
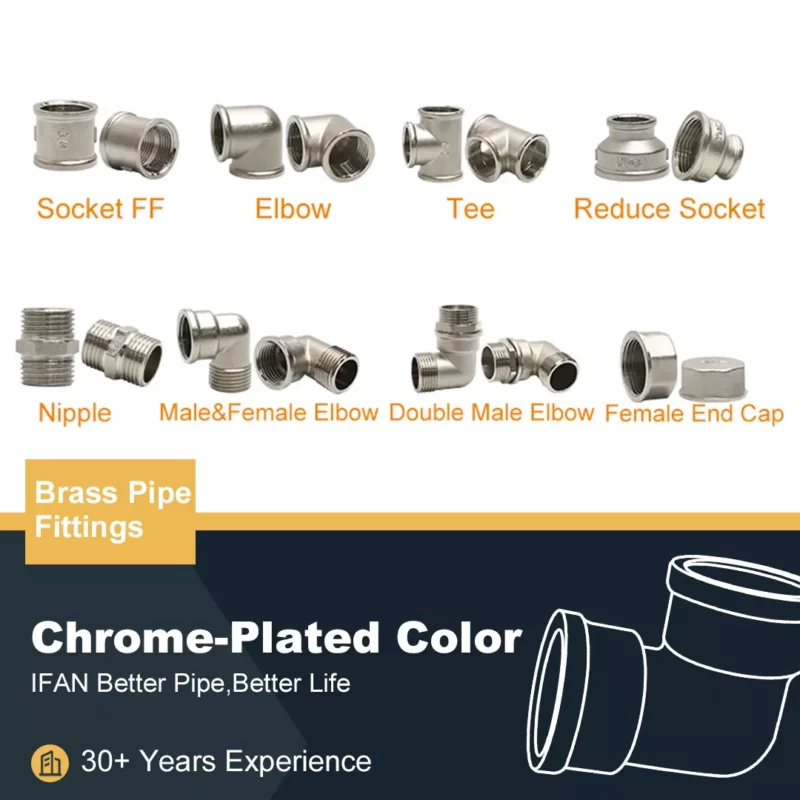
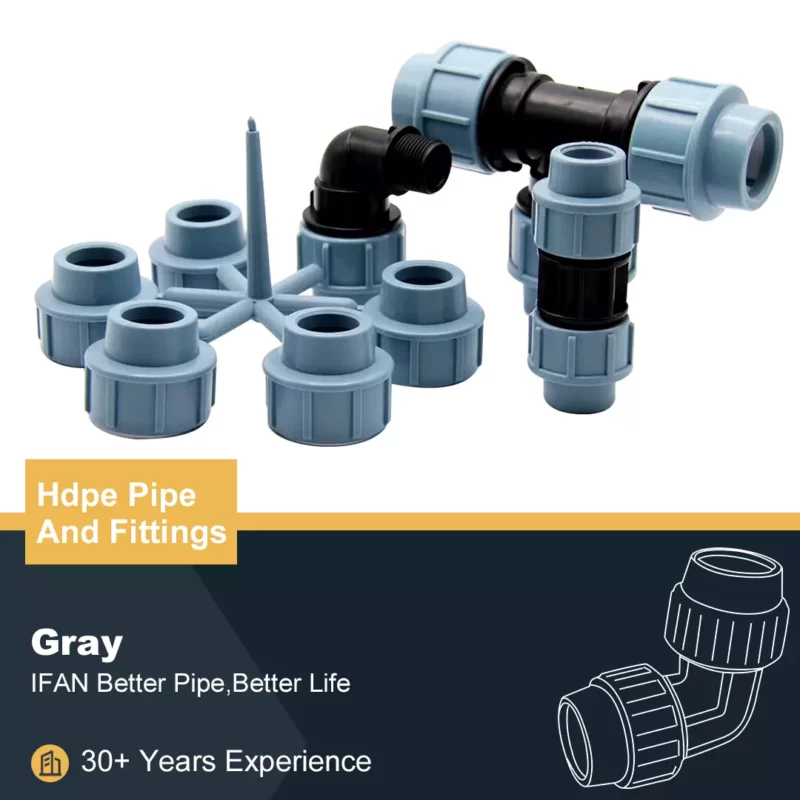
- PEX pipe and fittings
- PEX cutter
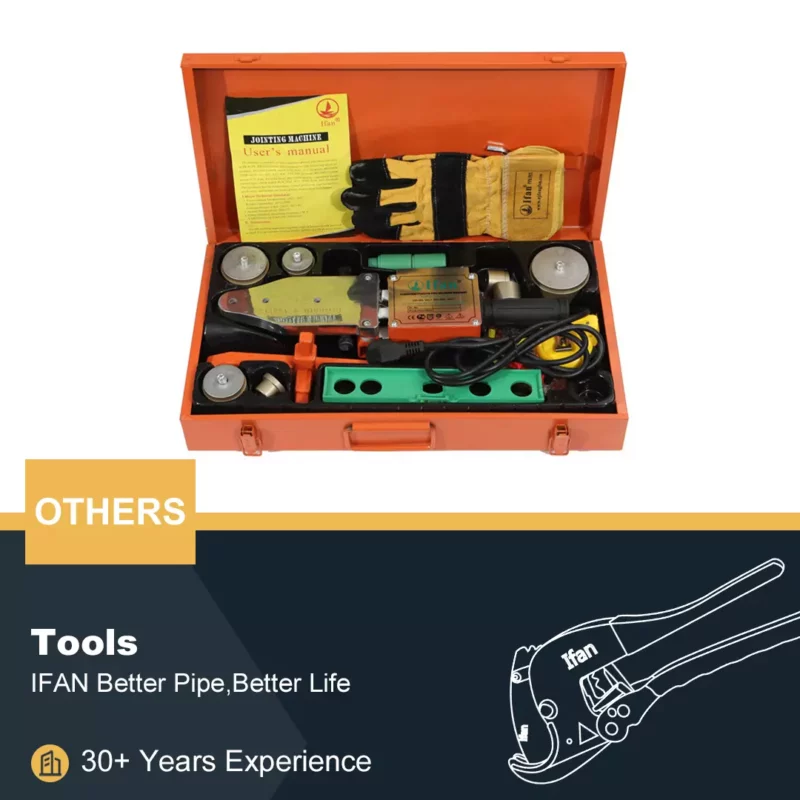
- Crimping tool or cinch clamp tool
- Deburring tool
- Measuring tape
- Marker
- Pipe supports
- Pressure test gauge
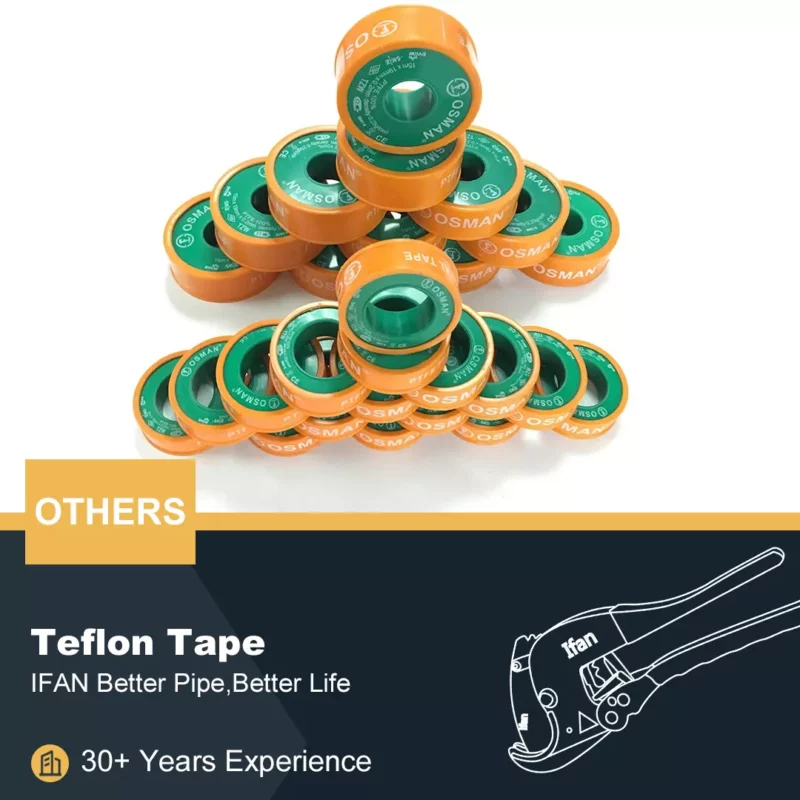
- Teflon tape
2: Preparing the Work Area
Before installing PEX pipe and fittings, it’s important to prepare the work area:
1.Shut off the main water supply.
2.Drain any remaining water from the pipes.
3.Remove any old plumbing fixtures or fittings.
4.Clean the work area to ensure a clean and smooth installation process.
3: Cutting and Measuring PEX Pipe
Properly measuring and cutting the PEX pipe is essential for a successful installation:
- Use a measuring tape to determine the required length of the pipe.
- Mark the measured length with a marker.
- Use a PEX cutter to make a clean, straight cut on the marked spot.
4: Preparing PEX Fittings
Before connecting the PEX pipe, prepare the fitting:
- Inspect the fittings for any damage or defects.
- Remove any burrs from the fittings using a deburring tool.
- Apply Teflon tape to the threaded ends of the fittings (if applicable).
5: Connecting PEX Pipe and Fitting
Now it’s time to connect the PEX pipe and fittings:
- Slide a crimp ring or cinch clamp onto the end of the PEX pipe.
- Insert the pipe into the fitting until it reaches the shoulder.
- Use a crimping tool or cinch clamp tool to secure the connection.
- Repeat the process for all required connections.
6: Supporting PEX Pipe
To ensure proper support and stability of the PEX pipe:
- Install pipe supports at regular intervals, as recommended by local building codes.
- Use plastic or metal hangers specifically designed for PEX pipe.
- Make sure the pipe is adequately supported and doesn’t sag or hang loosely.
7: Pressure Testing
After installing the PEX pipe and fittings, it’s crucial to perform a pressure test:
- Close all the valves and connections.
- Connect a pressure test gauge to the system.
- Slowly pressurize the system to the recommended pressure level.
- Monitor the pressure gauge for any drop in pressure, indicating a leak.
Conclusion:
Installing PEX pipe and fittings is a straightforward process that can be completed with basic tools and materials. By following these step-by-step instructions, you can successfully install PEX pipe in your home, ensuring a reliable and efficient plumbing system. Remember to always adhere to local building codes and regulations during the installation process.

If you have read this article and have any questions, please feel free to contact IFAN. Below is our contact information:
Whatsapp:+86 13373827623
Email:[email protected]