


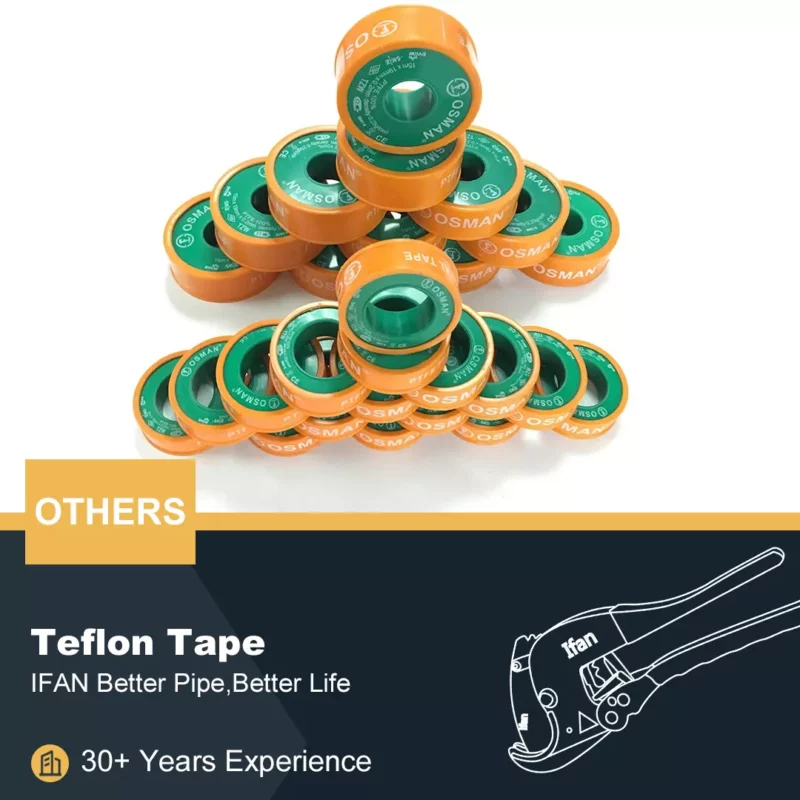
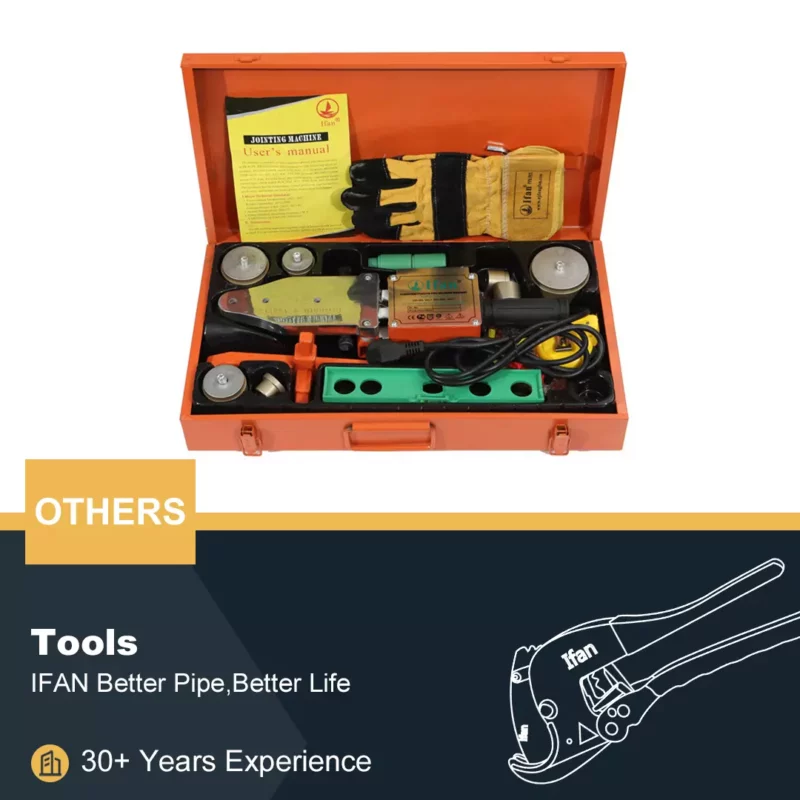
Before you begin your installation project, it’s crucial to gather all the necessary tools and equipment. These may include a pipe cutter, a welding machine specifically designed for PPR pipes, a measuring tape, a marker for labeling, a cleaning cloth for wiping surfaces, and a deburring tool for removing burrs from cut edges. Having these tools on hand will ensure a smooth and efficient installation process.
Planning Your Layout
Take the time to carefully plan out the layout of your plumbing system before you start cutting or welding any pipes. Sketch out the intended layout, including the placement of pipes and fittings. Measure the required lengths of pipe accurately, and mark the cutting points accordingly. Ensuring proper alignment of fittings and pipes at this stage will prevent issues later on during installation.
Cutting Pipes with Precision
Once you have marked the cutting points on the pipes, use a pipe cutter to make clean and straight cuts. It’s essential to cut the pipes with precision to ensure proper fit and alignment during welding. Avoid jagged or uneven cuts, as they can compromise the integrity of the joints and lead to leaks.
Preparing Pipes and Fittings
After cutting the pipes to size, it’s important to prepare the surfaces for welding. Use a deburring tool to remove any burrs or rough edges from the cut ends of the pipes. Then, wipe the surfaces of both the pipes and fittings with a cleaning cloth to remove any dirt, dust, or debris. Properly preparing the surfaces will ensure a strong and reliable bond when the pipes are welded together.
Heating and Welding Process
Before welding the pipes and fittings together, it’s crucial to heat the welding machine to the appropriate temperature for PPR pipes. Once the machine is heated, insert the end of the pipe into the fitting and hold it in place with gentle pressure. Maintain the pressure until the joint cools and the weld sets. Repeat this process for each joint in your plumbing system, ensuring consistent and secure connections throughout.
Checking for Proper Alignment
After welding each joint, take the time to check for proper alignment of the ppr pipes and fittings. Misaligned joints can lead to leaks or other issues down the line, so it’s important to correct any alignment issues before moving on to the next joint. Make any necessary adjustments carefully to ensure a tight and secure fit.
Cooling and Securing Joints
Once the welding process is complete, allow the joints to cool completely before moving or adjusting them. To prevent any movement that could compromise the integrity of the joints, secure them in place with clamps or braces as needed. This will ensure that the joints remain tight and leak-free once the system is pressurized.
Pressure Testing for Leaks
Before putting your plumbing system into service, it’s essential to pressure test it to ensure that there are no leaks. Pressurize the system to the recommended pressure and inspect each joint carefully for any signs of leakage. If any leaks are detected, make the necessary adjustments or repairs before proceeding with the installation.
Insulating Exposed Pipes
If any of your pipes will be exposed to the elements or to fluctuating temperatures, it’s a good idea to insulate them to prevent heat loss or condensation. Install insulation around exposed pipes using appropriate materials to help maintain consistent temperatures and protect against moisture buildup.
Securing Pipes in Place
To prevent pipes from shifting or moving over time, secure them in place using pipe clips or straps. This will help to maintain proper alignment and prevent stress on the joints, reducing the risk of leaks or other issues. Be sure to space the clips or straps evenly along the length of the pipes for maximum support.
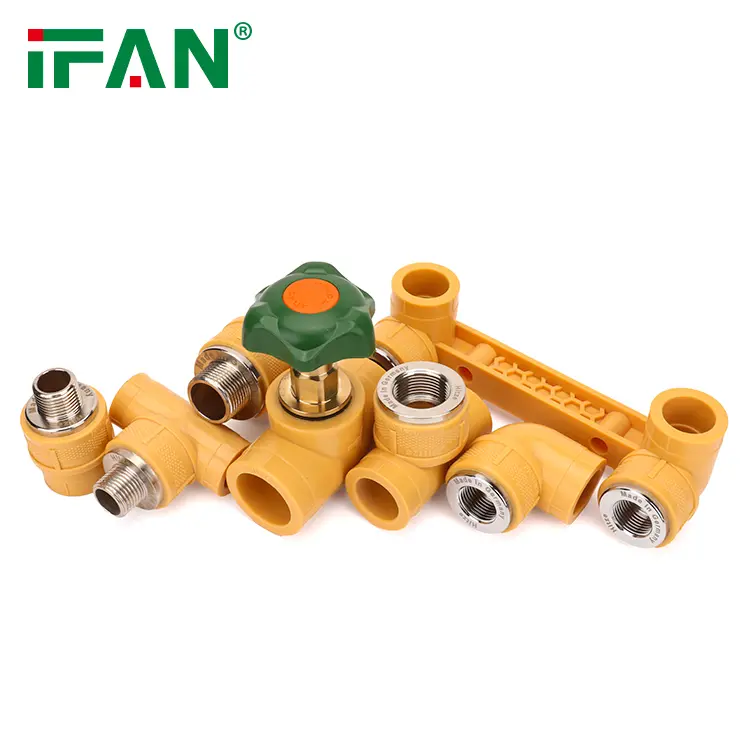
Connecting to Fixtures
Once the main plumbing lines are in place, it’s time to connect them to fixtures such as valves, faucets, and appliances. Ensure that all connections are tight and secure, and that any seals or gaskets are properly in place to prevent leaks. Test each fixture for proper operation before finalizing the installation.
Sealing Threads and Joints
In addition to welding the main pipe joints, it’s important to seal any threaded connections with thread sealant to ensure a watertight seal. Apply the sealant sparingly to the threads of the fitting before screwing them together, taking care not to overapply as excess sealant can interfere with the connection.
Conducting Final Inspection
Once the installation is complete, thoroughly inspect the entire plumbing system for any signs of leaks, loose connections, or other issues. Pay close attention to areas where pipes are joined or where fittings are installed, as these are common areas for potential problems. Make any necessary adjustments or repairs to ensure that the system is functioning properly.
Making Adjustments if Necessary
If any issues are identified during the inspection process, don’t hesitate to make the necessary adjustments or repairs. It’s important to address any problems promptly to prevent further damage or issues with the plumbing system. Take the time to carefully troubleshoot any issues and make sure that they are resolved to your satisfaction before considering the installation complete.
Finalizing Installation
Once all adjustments and repairs have been made, securely fasten any remaining pipes and fittings in place. Label the system for future reference, noting the location of shut-off valves, access points, and any other important information. Finally, clean up your workspace and dispose of any waste materials properly to complete the installation process.
Maintaining Your PPR Plumbing System
Regular maintenance is key to ensuring the longevity and reliability of your PPR plumbing system. Periodically inspect the system for any signs of leaks, damage, or wear and tear, and address any issues promptly. By staying proactive with maintenance, you can prevent costly repairs and ensure that your plumbing system continues to perform optimally for years to come.
Conclusion
By following these step-by-step tips for installing PPR pipes and fittings, you can ensure a reliable and efficient plumbing system for your home or business. From careful planning and precise cutting to thorough testing and maintenance, each step plays a crucial role in the success of the installation. With attention to detail and adherence to best practices, you can enjoy the benefits of a durable and leak-free PPR plumbing system for many years to come.
If you have read this article and have any questions, please feel free to contact IFAN. Below is our contact information:
Whatsapp:+86 13373827623
Email:[email protected]